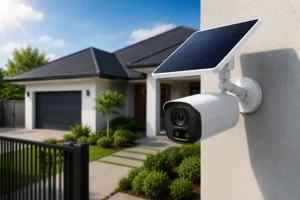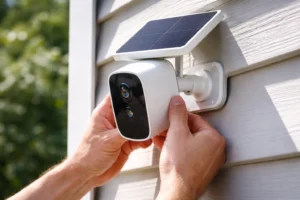
Getting the Best Angle for Solar Security Camera Panel isn’t just a technical detail—it’s the difference between a camera that works when you need it and one that quietly dies at the worst possible moment. I’ve seen it happen. A perfectly good solar camera setup underperforms, not because the device is faulty, but because the panel is pointed just slightly wrong. That’s it. A few degrees off can mean hours of lost charging every single day.
If you want consistent performance, fewer outages, and a camera that stays online through changing seasons, you need to dial this in. Let’s break it down in a way that’s practical, actionable, and actually useful.
Why the Angle of Your Solar Panel Matters
Solar panels don’t just “collect sunlight.” They absorb it most efficiently when sunlight hits them directly. Straight on. Not at an angle. Not partially shaded.
When your panel is tilted correctly:
- It captures more energy in less time
- Your battery charges faster
- Your camera stays powered longer
When it’s wrong, even slightly:
- Charging becomes inconsistent
- Battery drains faster than it fills
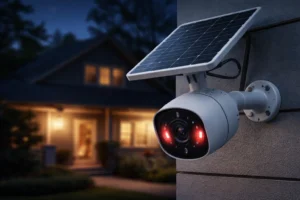
- Your camera goes offline—usually at night when you need it most
That’s why finding the Best Angle for Solar Security Camera Panel is not optional. It’s foundational.
Understanding Sun Position Basics
Here’s the part most people skip—and regret later.
The sun moves. Every single day.
- It rises in the east
- Peaks at midday
- Sets in the west
But it also shifts throughout the year. In summer, it’s higher in the sky. In winter, it sits lower. That means the angle at which sunlight hits your panel changes constantly.
Now, most solar camera panels are fixed. You install them once and leave them. So your goal is simple: find the angle that captures the most sunlight over time—not just at one moment.
Think of it as playing the long game.
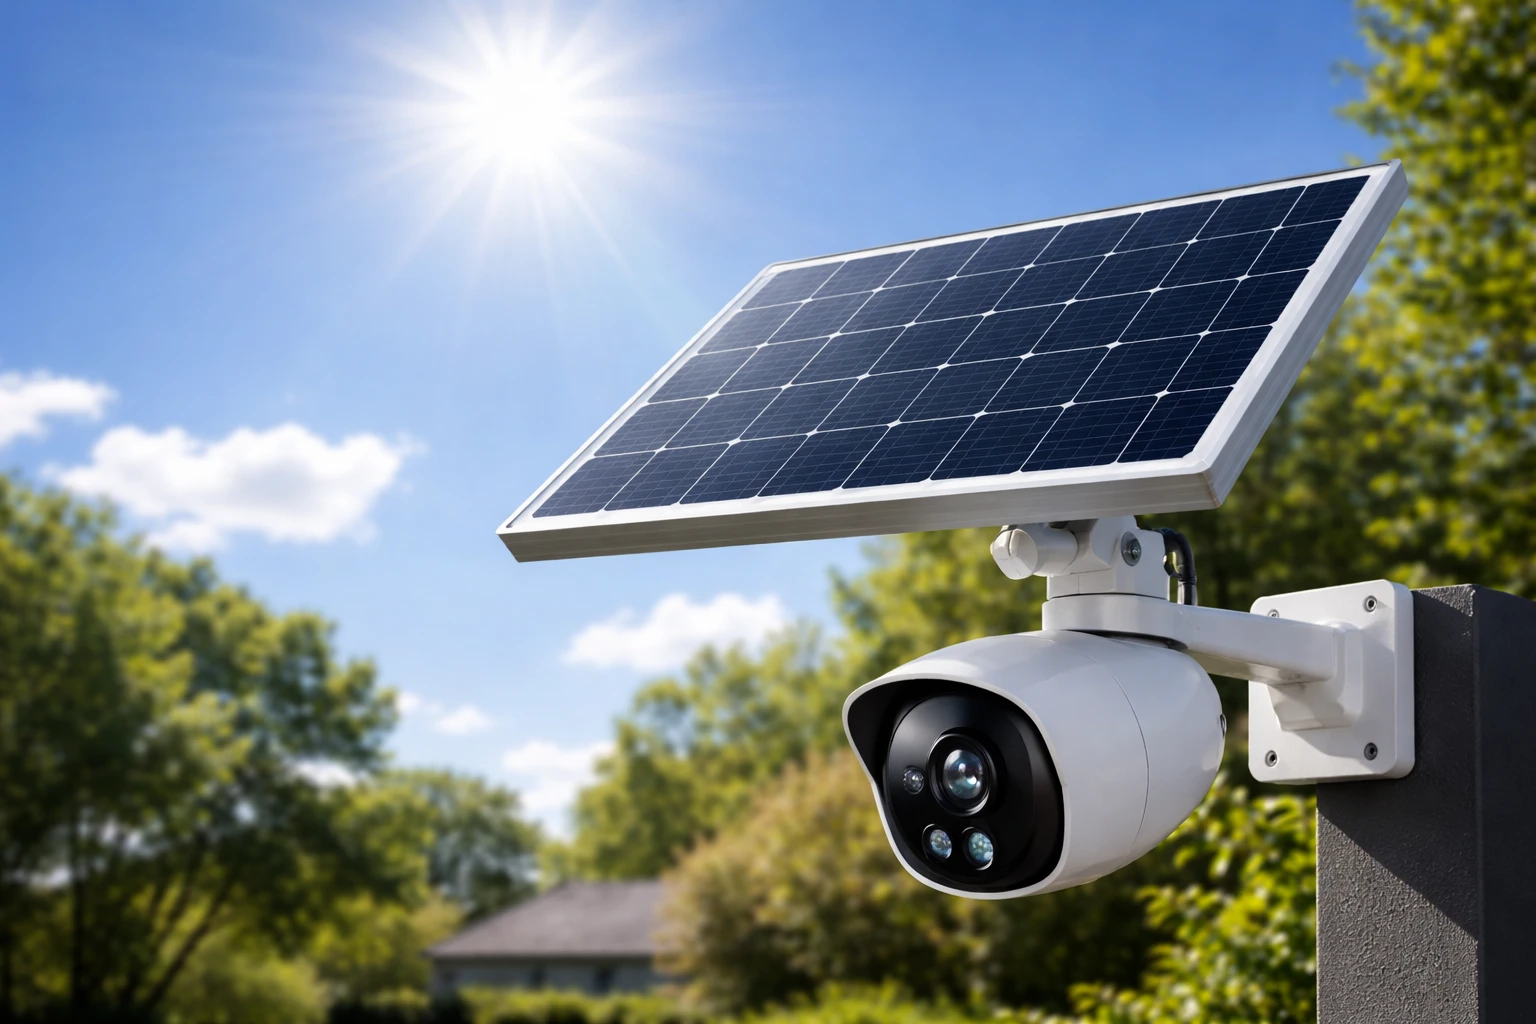
Best Angle for Solar Security Camera Panel (Core Guide)
Let’s get straight to it. The Best Angle for Solar Security Camera Panel depends largely on your location—specifically your latitude.
Here’s a simple breakdown:
- Tropical regions (near the equator): 10°–15° tilt
- Subtropical areas: 15°–25° tilt
- Temperate zones: 25°–35° tilt
- Colder or higher latitudes: 35°–45°+ tilt
Why this works: the farther you are from the equator, the lower the sun sits in the sky, so your panel needs to tilt more to face it directly.
Quick Adjustment Rule
If you want to fine-tune:
- Winter: Increase tilt (steeper angle)
- Summer: Decrease tilt (flatter angle)
But let me be honest—most people don’t want to adjust their panel every season. That’s fine. Pick a balanced angle based on your region, and you’ll still get solid performance year-round.
Best Direction to Face Your Solar Panel
Angle is only half the equation. Direction matters just as much.
- Northern Hemisphere (e.g., U.S., Europe): Face south
- Southern Hemisphere: Face north
This ensures your panel gets the longest possible exposure to sunlight during the day.
If you mess this up, even the Best Angle for Solar Security Camera Panel won’t save you. A perfectly tilted panel facing the wrong direction is still inefficient.
Fixed vs Adjustable Mounts
This is where things get interesting.
Fixed Mounts
- Simple
- Affordable
- Low maintenance
But once installed, you’re locked in.
Adjustable Mounts
- Allow seasonal angle changes
- Improve efficiency over time
- Slightly more expensive
If you’re serious about performance, go adjustable. If you want a “set it and forget it” solution, fixed mounts can still work—just make sure you nail the Best Angle for Solar Security Camera Panel during installation.
Common Installation Mistakes to Avoid
I’ve seen these mistakes over and over again.
Avoid them.
- Mounting the panel in partial shade
- Installing it flat against a wall (zero tilt)
- Ignoring nearby obstructions like trees or roofs
- Guessing direction without using a compass
- Prioritizing aesthetics over sunlight exposure
Even one of these can sabotage your setup.
How to Find the Best Angle for Your Location
You don’t need expensive tools. Just a bit of intention.
Practical Methods
- Use a smartphone compass app for direction
- Look up your latitude online
- Adjust panel tilt based on the ranges above
- Observe sunlight patterns for a full day
Real-World Testing Tip
Install your panel, then monitor your camera’s battery for a week.
- If battery stays full → you nailed it
- If it drains regularly → adjust the angle slightly
Small tweaks. Big results.
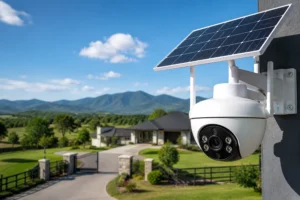
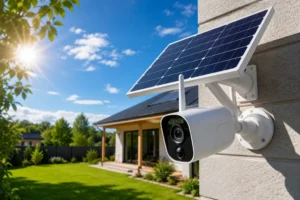
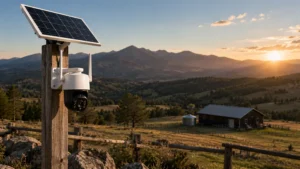
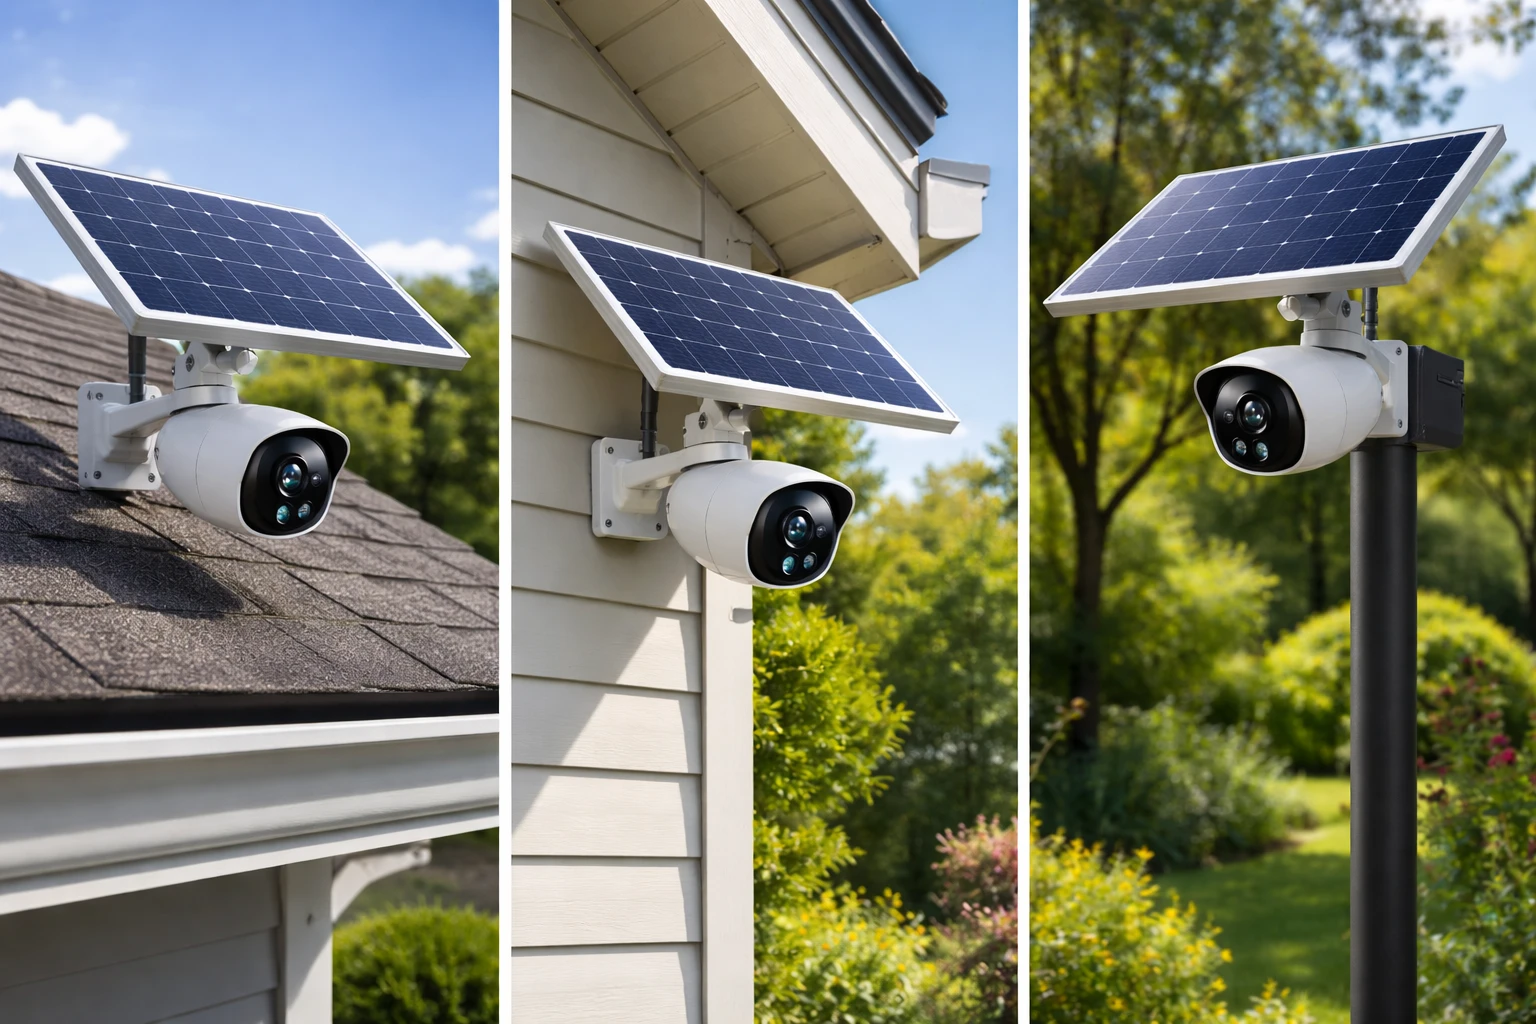
Ideal Placement Locations for Solar Camera Panels
Placement is just as important as angle.
Best Locations
- Rooftops with full sun exposure
- South-facing (or north-facing in southern hemisphere) walls
- Poles or standalone mounts in open areas
What to Avoid
- Under eaves or overhangs
- Near reflective surfaces that cause glare
- Low positions that get blocked by passing shadows
Height matters too. The higher the panel, the fewer obstructions it encounters.
Seasonal Adjustments: Do You Really Need Them?
Short answer: not always.
If you live in a region with extreme seasonal changes, adjusting your panel twice a year can improve performance.
Simple Seasonal Guide
- Winter: Tilt steeper to catch lower sun
- Summer: Flatten slightly to match higher sun
But if your setup is already working reliably, don’t overcomplicate it. A well-chosen fixed angle can still deliver strong results.
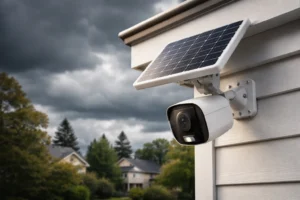
Weather and Environmental Considerations
Solar panels don’t operate in perfect conditions. Neither should your expectations.
Factors That Affect Performance
- Clouds: Reduce energy intake
- Rain: Can clean panels—but also block sunlight temporarily
- Dust: Builds up and lowers efficiency
- Snow: Can completely block sunlight
A steeper angle helps snow slide off. That’s another reason why the Best Angle for Solar Security Camera Panel isn’t just about sunlight—it’s about real-world conditions.
Maintenance Tips for Maximum Solar Efficiency
You don’t need much maintenance. But you do need some.
Keep It Simple
- Clean the panel every few weeks
- Check for dirt, leaves, or debris
- Inspect mounting stability
- Recheck angle every few months
Warning Signs Something’s Off
- Battery draining faster than usual
- Camera going offline at night
- Inconsistent performance during sunny days
When you see these, revisit your setup. Often, the fix is just adjusting the Best Angle for Solar Security Camera Panel by a few degrees.
Quick Reference Table: Recommended Angles by Region
| Region Type | Recommended Angle | Direction to Face |
| Tropical | 10°–15° | South/North* |
| Subtropical | 15°–25° | South/North* |
| Temperate | 25°–35° | South/North* |
| High Latitude | 35°–45°+ | South/North* |
*Depends on hemisphere
Pro Tips to Maximize Solar Camera Performance
If you want to squeeze every bit of performance out of your setup, go beyond just angle.
- Use motion detection instead of continuous recording
- Lower video quality slightly to save power
- Pair with a higher-capacity battery
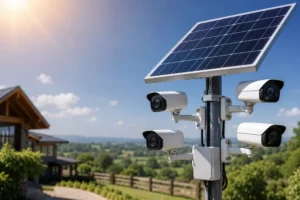
- Avoid installing multiple cameras on a single small panel
And most importantly—prioritize sunlight over convenience. Always.
Conclusion
Getting the Best Angle for Solar Security Camera Panel isn’t complicated, but it does require attention. Angle, direction, placement—they all work together. Ignore one, and the whole system suffers.
Take the time to set it up right. Test it. Adjust it. Then leave it alone and let it work.
Because when your camera stays powered through long nights and cloudy days, you’ll know you got it right.
FAQs
The best angle typically matches your location’s latitude, usually between 10° and 45° depending on your region.
You can adjust it seasonally for better performance, but a fixed angle works well for most setups.
Face it south in the Northern Hemisphere and north in the Southern Hemisphere for maximum sunlight.
Yes, but performance may drop since panels generate less energy without direct sunlight.
If your camera battery drains quickly or goes offline often, your angle may need adjustment.
No, flat panels are less efficient because they don’t capture direct sunlight effectively.
Yes, even partial shading can significantly reduce charging efficiency.
Use your location’s latitude as a guide and make small adjustments based on performance.
No, a basic angle guide or adjustable mount is enough for proper positioning.
Inspect it every few months to ensure it’s clean, properly angled, and unobstructed.