You don’t need a drill to protect your home. Seriously. If you’ve been putting off installing a camera because you don’t want holes in your walls, you’re not alone—and you’re not stuck. Learning how to install a solar camera without drilling opens up a faster, cleaner, and surprisingly flexible way to secure your space.
I’ve worked with setups like this in rentals, temporary sites, and even tricky outdoor areas where drilling just wasn’t an option. And here’s the truth: when done right, a no-drill install can be just as effective as a permanent one. You just need the right approach.
Let’s walk through exactly how to do it. No damage. No stress. Real results.
Why Choose a No-Drill Solar Camera Installation?
There’s a reason more people are searching for how to install a solar camera without drilling—it simply makes life easier.
First, no damage. That alone is a big win, especially if you’re renting or dealing with strict HOA rules.
Second, speed. You can go from unboxing to a working camera in under an hour. No power tools. No mess.
Third, flexibility. If you don’t like the angle or coverage, you can move it. Try doing that after drilling into concrete.
Here’s a quick breakdown:
| Benefit | Why It Matters |
| No wall damage | Keeps deposits safe and avoids repairs |
| Easy installation | No special tools or skills needed |
| Reposition anytime | Adjust coverage as needed |
| Clean look | No visible screws or holes |
Simple. Practical. Smart.
What You Need Before You Start
Before you jump into how to install a solar camera without drilling, gather the essentials. The right setup makes everything smoother.
Essential Equipment
- Solar-powered security camera
- Mounting solution (adhesive mount, strap, or clamp)
- Cleaning cloth and alcohol wipes
Optional but Helpful
- Level tool for proper alignment
- Smartphone app (most cameras include one)
- Cable clips if your solar panel is separate
Don’t overcomplicate this. The goal is efficiency, not a toolbox overhaul.
Best No-Drill Mounting Options Explained
Not all mounts are created equal. Choosing the right one can make or break your setup.
Adhesive Mounts
These are the go-to for most people learning how to install a solar camera without drilling.
They use industrial-strength tape to bond directly to surfaces like glass, metal, or smooth walls.
Best for:
- Indoor walls
- Glass windows
- Metal surfaces
Watch out for:
- Rough or dusty surfaces
- Extreme heat or moisture
Gutter Mounts
No wall contact. No risk of damage.
These clamp directly onto your gutter and hold your camera securely in place.
Why they’re great:
- Elevated position = better coverage
- Easy to install and remove
- Perfect for outdoor use
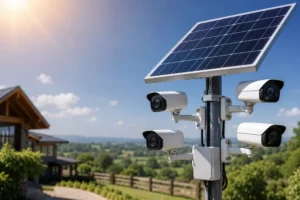
Pole and Fence Mounts
Got a fence or pole nearby? Use it.
These mounts rely on straps or clamps to secure your camera tightly.
Best use cases:
- Backyard monitoring
- Perimeter security
- Garden or driveway coverage
Magnetic Mounts
Quick. Clean. Flexible.
If you have a metal surface, magnetic mounts are incredibly convenient.
Pros:
- Instant installation
- Easy repositioning
Cons:
- Not ideal for high-theft areas
- Limited to metal surfaces
Step-by-Step Guide on How to Install a Solar Camera Without Drilling
Let’s get practical. This is where most people overthink things—but it’s actually straightforward.
Step 1: Choose the Right Location
This step matters more than anything else.
Look for:
- Direct sunlight for most of the day
- Strong WiFi signal
- Clear line of sight
Avoid shaded corners or areas blocked by trees. Your solar camera depends on light to stay powered.
Step 2: Clean the Mounting Surface
Don’t skip this.
Dust and grease weaken adhesion. A quick wipe with alcohol makes a huge difference.
Give it 30 seconds to dry. That’s it.
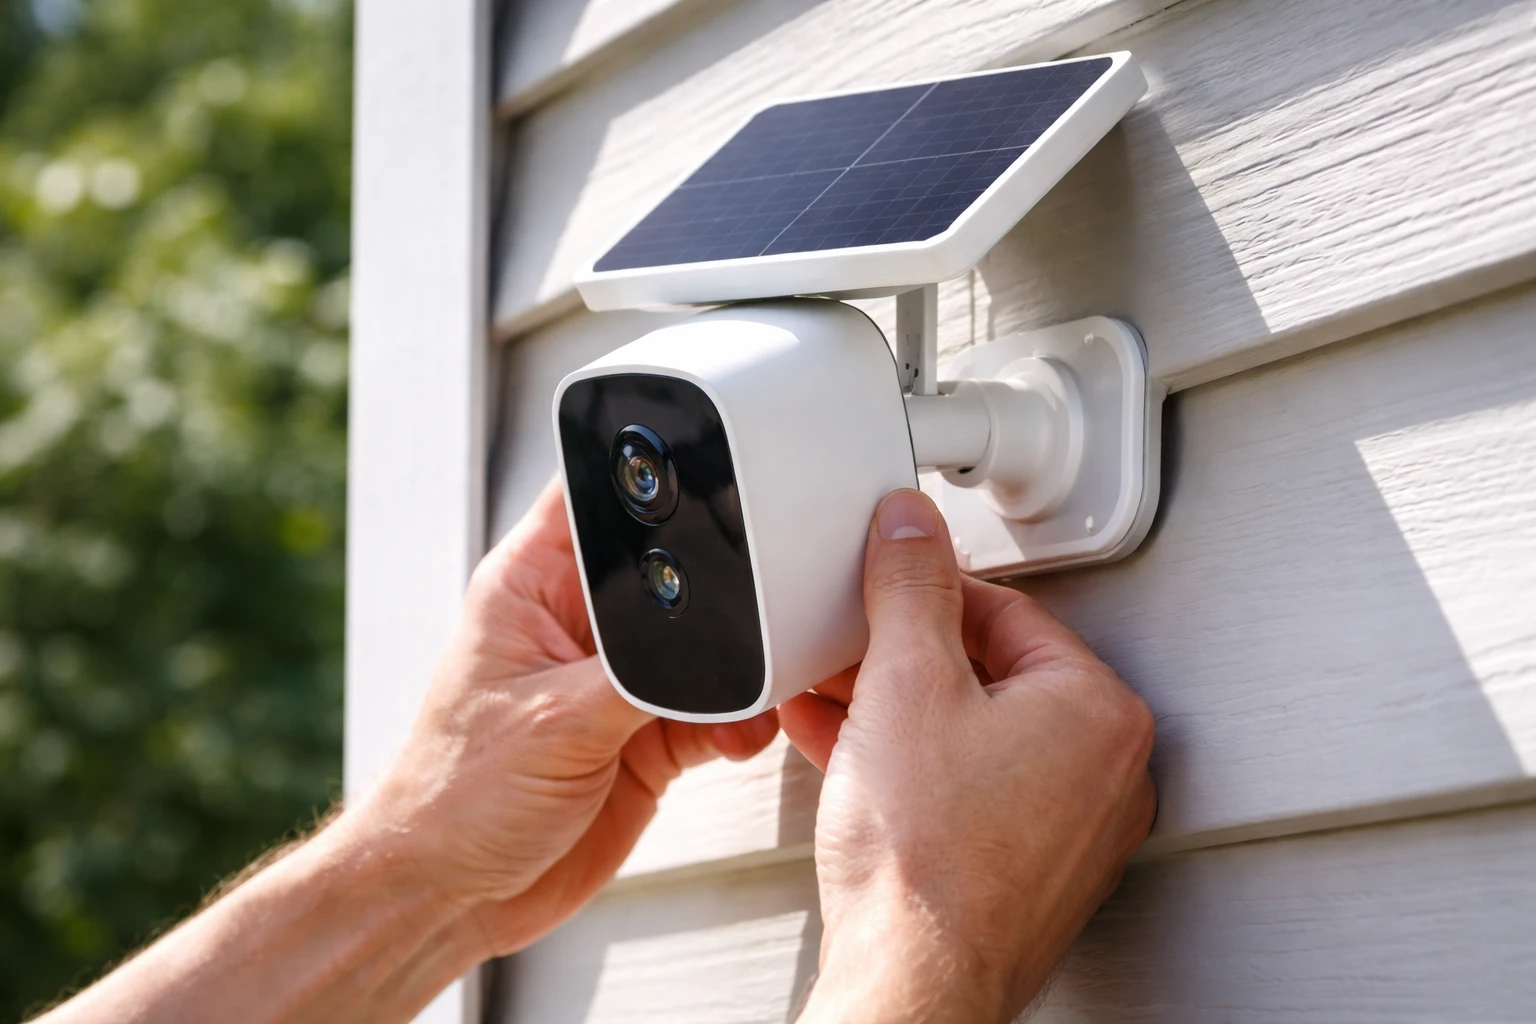
Step 3: Attach the Mount Securely
If you’re using adhesive:
- Press firmly for 30–60 seconds
- Let it set before adding weight
If you’re using straps or clamps:
- Tighten evenly
- Check stability before moving on
This step defines your entire setup. Take it seriously.
Step 4: Install the Camera
Snap or screw the camera into the mount—depending on the model.
Adjust the angle. Then adjust it again.
You want:
- Entry points covered
- Minimal blind spots
- Clear visibility
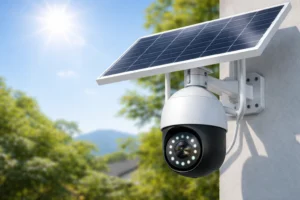
Step 5: Position the Solar Panel
This is where many setups fail.
Point the panel toward consistent sunlight. Not just morning light. Not just afternoon light. Aim for all-day exposure.
Tilt matters. Angle it slightly upward if needed.
Step 6: Test the Camera
Open the app. Check the live feed.
Walk in front of the camera. Trigger motion alerts.
Make small adjustments. A few degrees can make a big difference.
Common Mistakes to Avoid
Even when you know how to install a solar camera without drilling, mistakes can sneak in.
Here are the big ones:
- Installing in shaded areas
- Skipping surface cleaning
- Using weak adhesive mounts
- Placing the camera too low
- Ignoring weather exposure
One mistake can reduce performance dramatically. Avoid them early.
How to Make Your Installation More Secure
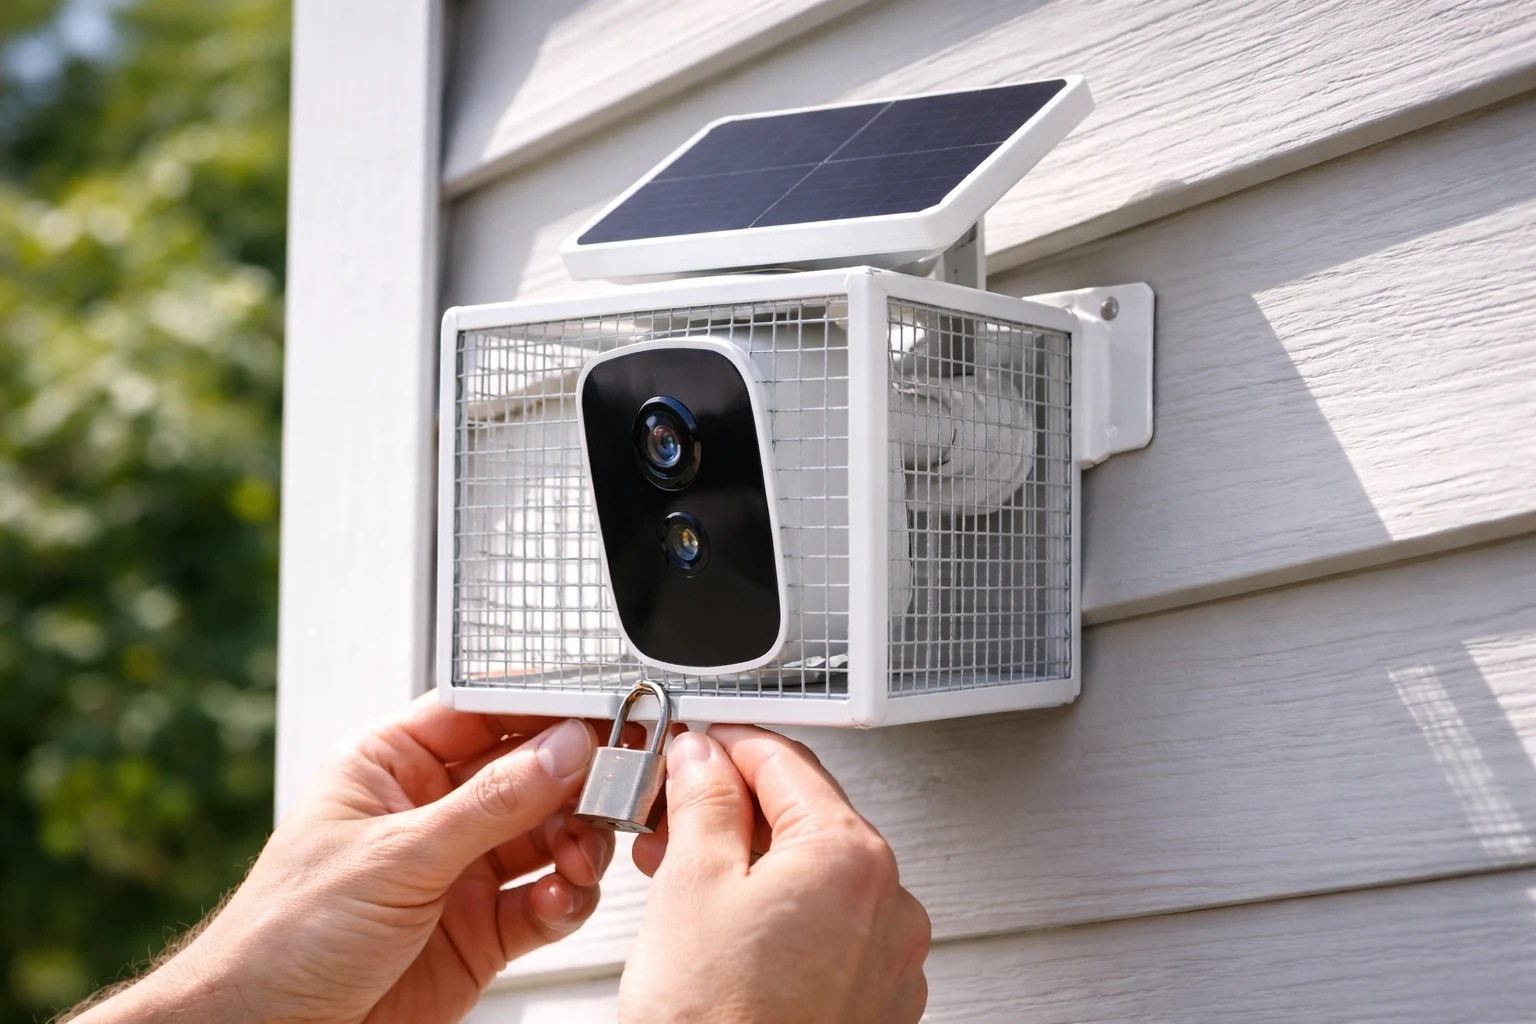
Let’s be honest—no-drill setups can raise security concerns. But you can fix that.
Try this:
- Use anti-theft brackets
- Mount the camera higher than reach level
- Combine adhesive with a secondary strap
- Check mounts every few weeks
Security isn’t just about the camera. It’s about placement and planning.
Indoor vs Outdoor Installation Tips
Different environments. Different strategies.
Indoor Setups
Keep it simple.
- Mount near windows for outdoor views
- Avoid glare from direct sunlight
- Watch for reflections at night
Sometimes the easiest solution is the smartest one.
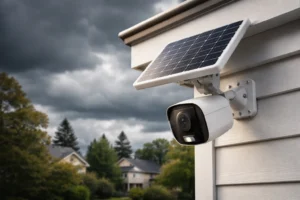
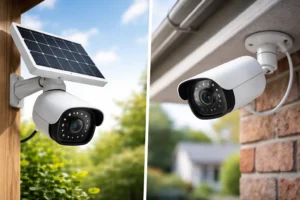
Outdoor Setups
More variables. More risk.
- Choose weather-resistant mounts
- Avoid direct exposure to heavy rain
- Secure cables properly
Outdoor installs demand a bit more thought—but they’re worth it.
Maintenance Tips for Long-Term Performance
You’ve installed it. Great. Now keep it working.
Here’s how:
- Clean the solar panel every few weeks
- Check adhesive strength monthly
- Update firmware regularly
- Monitor battery performance
A little maintenance goes a long way. Ignore it, and performance drops fast.
When No-Drill Installation Might Not Work
Let’s keep it real. This method isn’t perfect for every situation.
You might run into issues with:
- Rough or uneven surfaces
- Extreme weather conditions
- Heavy camera models
- High-risk security areas
In those cases, drilling might still be the better option.
Best Use Cases for No-Drill Solar Cameras
This is where how to install a solar camera without drilling really shines.
Perfect scenarios include:
- Apartments and rentals
- Temporary setups
- RVs and mobile homes
- Backyard monitoring
- Construction sites
If flexibility matters, this method wins every time.
Final Thoughts
Installing a camera doesn’t have to mean committing to permanent changes. That’s the beauty of learning how to install a solar camera without drilling—you stay in control.
You can set it up fast. Move it easily. Adjust as needed.
And yes, it works.
If you take your time with placement, use the right mounting method, and avoid common mistakes, you’ll end up with a clean, secure, and highly effective setup. No holes required.
FAQs
Yes, high-quality adhesive mounts can hold firmly on smooth surfaces if installed correctly and given proper curing time.
Most no-drill mounts can last several months to years, depending on weather conditions and surface quality.
Extreme heat and heavy rain can weaken adhesives over time, so choosing weather-resistant mounts is important.
Yes, but adhesive mounts may lose strength if removed and reapplied, so reposition carefully.
Not necessarily all day, but consistent sunlight exposure is needed to keep the battery charged efficiently.
They can be secure if installed out of reach or paired with anti-theft accessories, but they’re generally easier to remove than drilled mounts.
It’s possible using strong adhesive or clamp-based mounts, but rough brick surfaces may reduce adhesion strength.
Typically 8–10 feet high to maximize coverage while keeping the camera out of easy reach.
Most solar cameras require WiFi for live viewing and alerts, though some models support local storage.
It’s best to inspect your setup every few weeks to ensure the mount remains secure and the camera performs properly.