Your security camera is only as reliable as the network it’s connected to. That’s why learning how to change WiFi network Reolink Argus PT Ultra is essential for maintaining uninterrupted surveillance. Whether you’ve upgraded your router, switched internet providers, changed your WiFi password, or simply moved your camera to a new location, reconnecting your camera correctly ensures you continue receiving motion alerts, live video feeds, and recordings without missing a moment.
The good news? The process is easier than many people expect.
Still, there are a few important details that can save you frustration. A simple mistake during setup can leave your camera offline for hours. In this guide, we’ll walk through everything step by step, explain what to do when things go wrong, and share practical tips that help keep your Reolink Argus PT Ultra connected for the long term.
Understanding the Reolink Argus PT Ultra WiFi Connection
Before jumping into settings menus and passwords, it helps to understand how the camera communicates with your network.
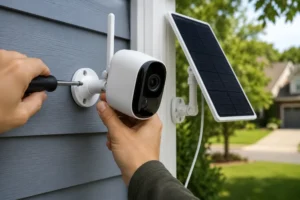
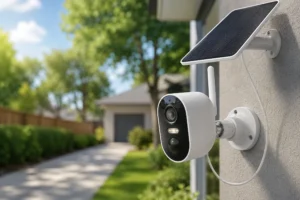
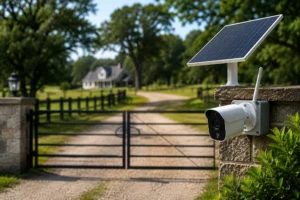
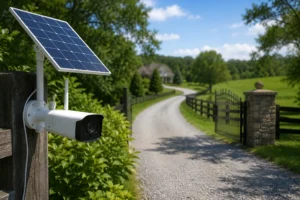
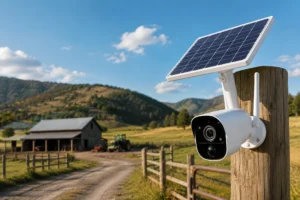
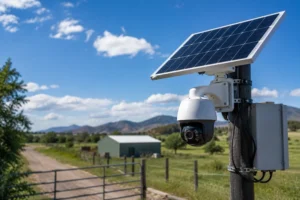
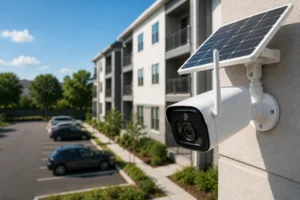
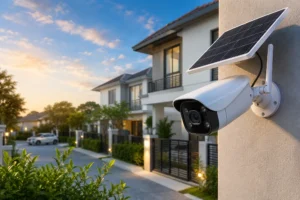
The Reolink Argus PT Ultra is a battery-powered wireless security camera designed for flexible installation. Unlike wired cameras that maintain a constant physical connection, it relies entirely on your WiFi network to transmit video, alerts, and remote access information.
When the camera loses access to its original network, communication stops.
That’s why changing networks requires updating the camera’s stored WiFi credentials.
If you’re already using Reolink products, our detailed Reolink Argus 3 Pro review can help you better understand how Reolink’s wireless camera ecosystem operates and what features carry across multiple models.
How the Camera Connects to Your Network
The camera stores information about:
- WiFi network name (SSID)
- WiFi password
- Network authentication settings
- Connection preferences
Once connected, the camera uses those credentials every time it powers on.
If any of those details change, the camera must be updated manually.
When connecting to a wireless network, the camera uses an authentication protocol to verify credentials before access to the network is granted.
Common Reasons for Changing WiFi Networks
Most users search for how to change WiFi network Reolink Argus PT Ultra after one of these situations:
| Scenario | Why It Happens |
| New internet provider | Router and network name changed |
| New router installation | Previous credentials no longer exist |
| Password update | Camera cannot authenticate |
| Moving the camera | Different WiFi environment |
| Upgrading the network | Better coverage and performance |
Even a small password change can disconnect the camera completely.
What You Need Before Changing the WiFi Network
Preparation makes the process much smoother.
Gather a few things before starting.
Verify Camera Power Status
Nothing is more frustrating than having the camera shut down halfway through setup.
Make sure:
- Battery is at least 50%
- Solar panel is functioning properly
- Camera powers on normally
- Live view is accessible if connected
A fully charged battery is always best.
Gather Required Information
Have these details ready:
- New WiFi network name
- New WiFi password
- Smartphone with Reolink App installed
- Access to camera settings
- Router access if needed
Double-check the password before proceeding.
Many connection failures happen because of a single typo.
Confirm Network Compatibility
Before changing settings, verify the network can support the camera.
Check:
- Router is operating normally
- Stable internet service
- Adequate signal strength
- Compatible security settings
Strong WiFi coverage matters just as much as internet speed.
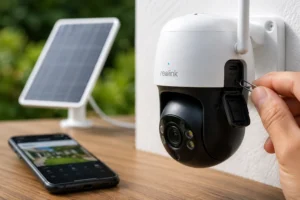
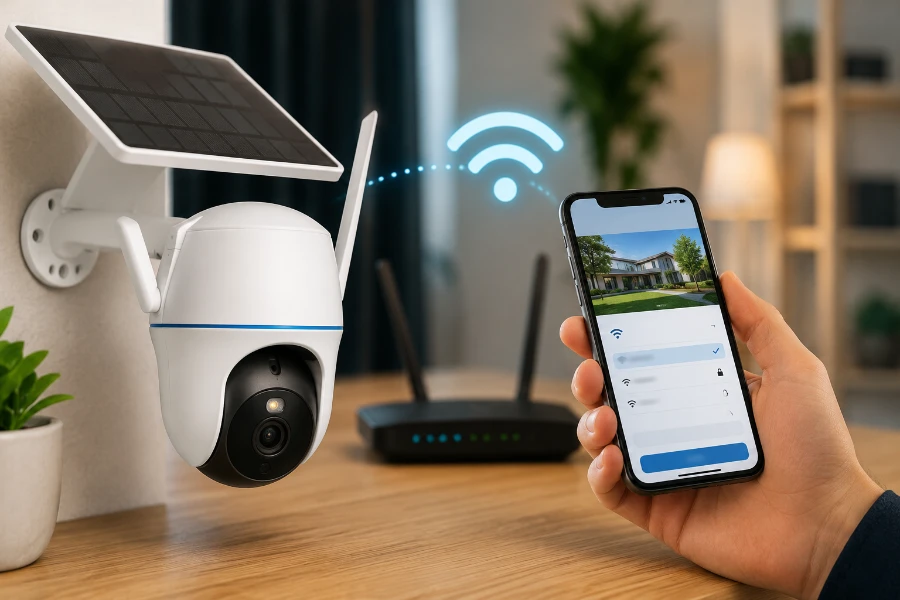
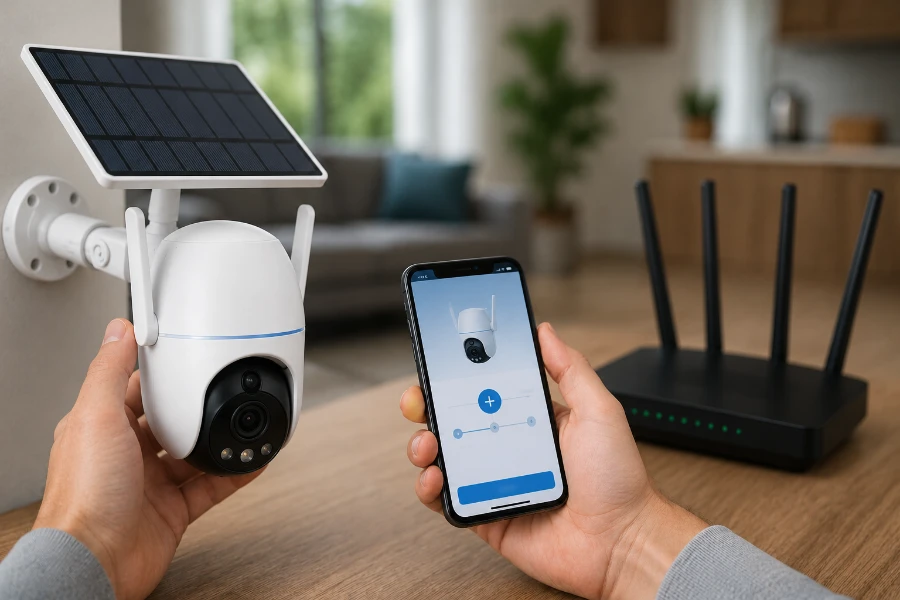
How to Change WiFi Network on Reolink Argus PT Ultra Using the Reolink App
Now let’s get into the actual process.
If your camera is still connected to the old network, updating settings through the Reolink App is usually the fastest and easiest method.
Step 1: Open the Reolink App
Launch the app on your smartphone or tablet.
Locate your Reolink Argus PT Ultra from the device list.
Tap the camera to access live view and settings.
Step 2: Access Device Settings
Tap the gear icon.
This opens the device settings menu.
From here, you’ll see options related to:
- Motion detection
- Recording settings
- Notifications
- Battery management
- Network configuration
Select Network Settings.
Step 3: Navigate to WiFi Settings
Within network settings, locate the WiFi configuration section.
The camera should display the currently connected network.
Choose the option to update or modify wireless settings.
Step 4: Scan Available Networks
The camera will search for nearby WiFi networks.
Choose your new network from the list.
If it doesn’t appear:
- Refresh the network scan
- Move closer to the router
- Confirm the network is broadcasting properly
Hidden networks may require manual entry.
Step 5: Enter the New WiFi Password
Carefully enter the password.
Pay attention to:
- Uppercase letters
- Lowercase letters
- Numbers
- Special characters
One incorrect character can prevent a successful connection.
Step 6: Save and Apply Changes
Tap Save.
The camera will disconnect from the old network and attempt to join the new one.
This process generally takes less than two minutes.
Avoid:
- Closing the app
- Restarting the camera
- Turning off the router
Patience is important here.
Step 7: Verify the Connection
Once connected:
- Open live view
- Test pan and tilt controls
- Trigger a motion alert
- Confirm recording functionality
If everything works normally, you’ve successfully completed how to change WiFi network Reolink Argus PT Ultra using the Reolink App.
Alternative Method: Reconnecting After Router Replacement
Sometimes the original WiFi network is no longer available.
This changes the process slightly.
Without access to the previous network, the camera cannot receive updated credentials remotely.
When the Old Network No Longer Exists
This commonly happens after:
- Replacing a router
- Switching internet providers
- Moving to a new home
- Factory resetting networking equipment
In these cases, you may need to reset the camera and perform the setup again.
Re-Adding the Camera After a Reset
If a reset becomes necessary, don’t worry. The process is straightforward.
Follow these steps:
- Open the Reolink App.
- Select Add Device.
- Scan the QR code on the camera.
- Follow the setup prompts.
- Connect the camera to the new WiFi network.
- Complete device activation.
The camera will then operate as if it were newly installed.
Although it takes a few extra minutes, this method often resolves stubborn connection issues.
Troubleshooting WiFi Connection Problems
Even when every step is followed correctly, problems can still occur.
Fortunately, most connection issues have simple solutions.
Camera Cannot Find the New WiFi Network
One of the most common complaints after changing networks is that the camera cannot see the router.
Potential causes include:
- Weak WiFi signal
- Hidden SSID
- Router configuration issues
- Excessive distance from the router
Start by moving the camera closer to the router temporarily.
If the network suddenly appears, you’ve identified a signal strength problem.
Incorrect Password Errors
This issue is surprisingly common.
Before assuming something is wrong with the camera, verify:
- Correct capitalization
- No extra spaces
- Correct special characters
- Updated password information
I always recommend typing the password slowly and double-checking every character before saving.
Camera Disconnects Frequently
A successful connection doesn’t always mean a stable connection.
If your camera repeatedly goes offline, several factors could be contributing.
Common causes include:
- Weak signal strength
- Network congestion
- Router placement issues
- Electronic interference
In some homes, nearby electronics can create electromagnetic interference, which may weaken wireless signals and contribute to intermittent camera disconnections.
This is particularly common in garages, workshops, and utility rooms where multiple electronic devices operate simultaneously.
Live View Loads Slowly
Few things are more frustrating than waiting for a security camera feed to load when you need it most.
Slow loading often points to:
| Possible Cause | Recommended Solution |
| Weak WiFi signal | Move router closer |
| Network congestion | Reduce connected devices |
| Low upload speed | Upgrade internet plan |
| Distance from router | Add WiFi extender |
A stronger signal usually delivers the biggest improvement.
Motion Alerts Stop Working
Many users searching for how to change WiFi network Reolink Argus PT Ultra discover that notifications stop arriving after reconnecting.
Check:
- Motion detection settings
- Push notification settings
- Phone notification permissions
- App login status
Sometimes the camera reconnects properly while notification settings remain disabled.
A quick review of app settings often fixes the issue.
Best Practices for Maintaining a Stable Connection
Changing WiFi networks successfully is only part of the equation.
Keeping the connection stable is equally important.
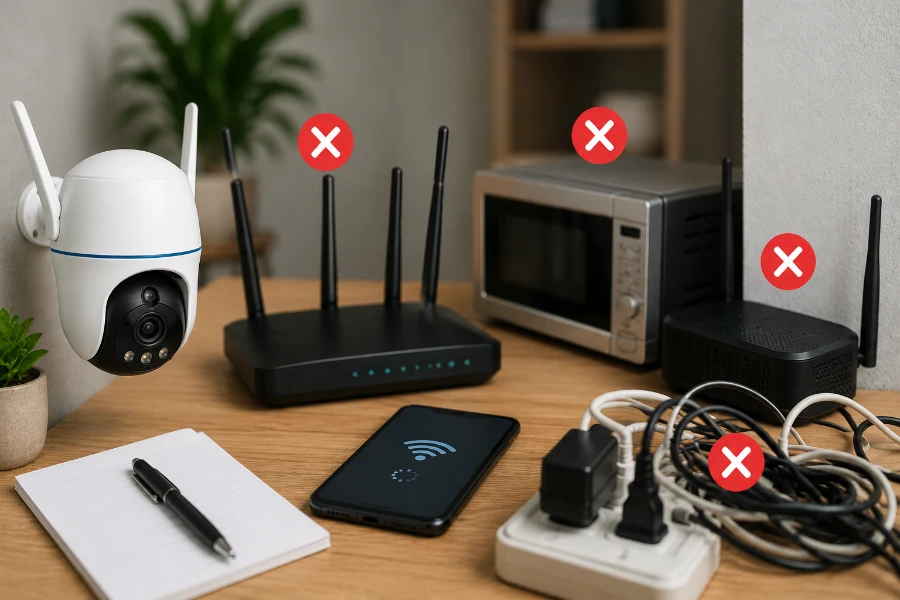
Optimize Camera Placement
Physical placement affects wireless performance more than many people realize.
Try to avoid mounting near:
- Metal structures
- Electrical panels
- Concrete walls
- Large appliances
Each obstacle can reduce signal quality.
Small adjustments can create surprisingly large improvements.
Improve WiFi Coverage
Larger homes and properties often require additional wireless coverage.
Consider:
- Mesh WiFi systems
- Wireless access points
- WiFi extenders
These devices help eliminate dead zones and improve camera reliability.
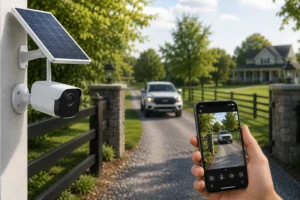
Many of the same connectivity principles apply whether you’re using an Argus PT Ultra or installing a solar driveway camera to monitor vehicles and visitors from a greater distance.
Secure Your Wireless Network
Security matters.
After all, you’re installing a security camera to increase protection.
Use these best practices:
- Strong passwords
- Modern encryption methods
- Firmware updates
- Secure administrator credentials
A secure network protects both your data and your devices.
How a WiFi Network Change Affects Camera Features
Many users worry about losing settings or recordings when changing networks.
Thankfully, that’s rarely the case.
Live Streaming
Once the camera reconnects, live viewing should function normally.
Video quality remains unchanged.
Motion Detection
Detection zones and sensitivity settings are usually preserved.
Still, it’s worth checking them after reconnecting.
Recording and Storage
Changing WiFi does not erase recordings stored on the SD card.
Your footage remains intact.
Remote Access
Remote access will continue working once the camera successfully connects to the internet through the new network.
Simply log into your Reolink account as usual.
Common Mistakes to Avoid When Changing WiFi Networks
The majority of setup problems come from a handful of avoidable mistakes.
Moving Too Far From the Router
Distance remains one of the biggest causes of wireless issues.
Perform setup near the router whenever possible.
Forgetting the Password
It sounds obvious.
Yet it happens constantly.
Verify the password before starting.
Ignoring Firmware Updates
Firmware updates frequently improve network performance and stability.
Check for updates regularly.
Performing Unnecessary Factory Resets
Many users immediately reset the camera when a connection issue occurs.
That’s usually unnecessary.
Try updating network settings first.
Interrupting the Setup Process
The camera needs time to connect.
Avoid restarting devices or closing the app while the connection process is underway.
Advanced Tips for Faster Reconnection
If you expect to replace networking equipment in the future, here’s a useful trick.
Configure your new router with the same:
- Network name (SSID)
- Password
- Security settings
When those details remain identical, many devices reconnect automatically.
For example:
| Setting | Old Router | New Router |
| SSID | HomeSecurity | HomeSecurity |
| Password | Secure123 | Secure123 |
This simple strategy can save significant time when upgrading equipment.
It’s one of the easiest ways to avoid repeating the entire how to change WiFi network Reolink Argus PT Ultra process.
When Should You Reset the Camera?
A reset should be considered only after other troubleshooting methods fail.
Try these steps first:
- Re-enter WiFi credentials
- Restart the router
- Restart the camera
- Verify signal strength
- Update firmware
Only proceed with a factory reset if the camera remains inaccessible.
Resetting removes configuration settings and requires complete setup.
Final Thoughts
Learning how to change WiFi network Reolink Argus PT Ultra is an essential skill for any owner of this popular wireless security camera. Whether you’re upgrading your internet service, installing a new router, moving the camera to another location, or simply changing your WiFi password, understanding the process helps maintain uninterrupted security coverage.
The steps themselves are straightforward. Access the Reolink App, update the WiFi settings, enter the new credentials, and verify the connection. However, attention to detail matters. Most connection problems stem from simple mistakes such as weak signals, incorrect passwords, or interrupted setup procedures.
More importantly, maintaining a strong wireless connection doesn’t end after setup. Proper camera placement, reliable WiFi coverage, regular firmware updates, and good network security practices all contribute to long-term performance.
Once you understand how to change WiFi network Reolink Argus PT Ultra, future network upgrades become far less intimidating. Instead of troubleshooting for hours, you’ll have the knowledge needed to reconnect your camera quickly, restore remote access, and keep your property protected without missing a beat.
FAQs
Open the Reolink App, access the camera’s network settings, select the new WiFi network, and enter the correct password.
Yes. If the camera is still connected to the current network, you can update the WiFi settings directly through the Reolink App.
No. Footage stored on the camera’s microSD card remains intact when you switch WiFi networks.
The most common causes are an incorrect password, weak signal strength, or incompatible router settings.
You need access to the camera through the Reolink App, which typically requires the camera and phone to be connected properly during setup.
In most cases, the reconnection process takes less than two minutes after saving the new WiFi credentials.
Move the camera closer to the router, refresh the network list, and confirm that the WiFi network is broadcasting normally.
Usually no. Motion detection settings are typically retained, but it’s a good idea to verify them after reconnecting.
Yes. A quality WiFi extender or mesh system can improve signal coverage and camera stability.
A factory reset should only be used when normal troubleshooting fails or when the camera cannot access the previous network.