If your camera suddenly drops offline or refuses to connect, knowing how to reset a solar security camera can save you hours of frustration. I’ve seen it happen—everything works perfectly for weeks, then one day the live feed disappears. No warning. No obvious cause. Just a stubborn device that won’t cooperate.
The good news? Resetting your solar security camera is usually quick, safe, and incredibly effective when done correctly. The key is understanding why you’re resetting it and choosing the right method. Get that right, and you’ll be back up and running in minutes.
Let’s walk through it step by step.
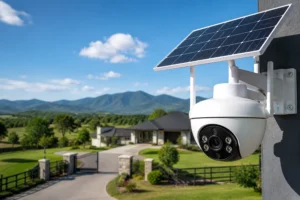
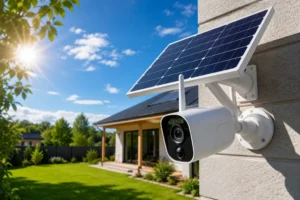
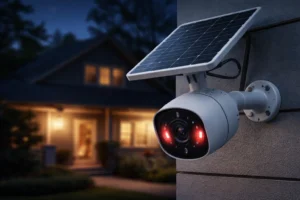
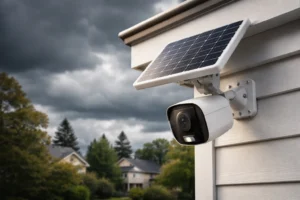
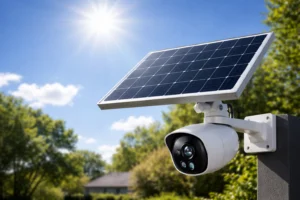
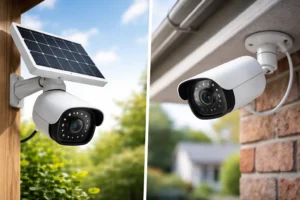
What Is a Solar Security Camera and How It Works
A solar security camera is a wireless surveillance device powered by sunlight. Simple idea. Smart execution.
Instead of relying on wired power, it uses:
- A solar panel to collect energy
- A rechargeable battery to store power
- A WiFi module for connectivity
- A camera system for monitoring
This setup allows continuous operation without constant manual charging. But here’s the catch—because it relies on multiple components working together, even a small glitch can disrupt the entire system.
That’s where understanding how to reset a solar security camera becomes essential. A reset acts like a system refresh. It clears temporary bugs and restores normal operation.
Common Reasons You May Need to Reset a Solar Security Camera
Let’s be practical. You don’t reset devices for fun. You reset them because something isn’t working.
Here are the most common triggers:
- WiFi connection failure – The camera won’t reconnect after a network change
- App syncing issues – The feed won’t load or update
- Battery or charging inconsistencies – Solar panel isn’t charging properly
- Frozen or unresponsive camera – No movement, no response
- Relocation – Moving to a new home or network
- Security concerns – Resetting before transferring ownership
I’ve personally had to reset mine after switching routers. Nothing else worked. One reset fixed everything instantly.
Soft Reset vs Hard Reset – What’s the Difference?
Before jumping into action, you need to choose the right reset type. This matters more than most people think.
Soft Reset (Reboot)
- Restarts the system
- Keeps your settings intact
- Fixes minor glitches
Hard Reset (Factory Reset)
- Wipes all settings
- Restores default configuration
- Requires full setup again
Here’s a quick comparison:
| Feature | Soft Reset | Hard Reset |
| Data Loss | No | Yes |
| Setup Required | No | Yes |
| Fixes Minor Issues | Yes | Yes |
| Fixes Major Issues | Sometimes | Yes |
If you’re unsure, always start with a soft reset. It’s faster. Safer. Less disruptive.
How to Reset a Solar Security Camera (Step-by-Step Guide)
This is where it gets practical. Follow these steps carefully and you’ll master how to reset a solar security camera like a pro.
Step 1 – Identify Your Camera Model
Not all cameras are built the same. Some hide the reset button. Others use app-based resets.
Check:
- The user manual
- The brand’s app
- The device label
A quick search can save you from guessing.
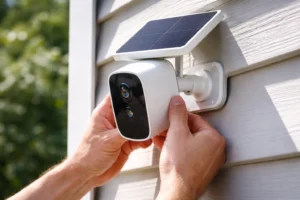
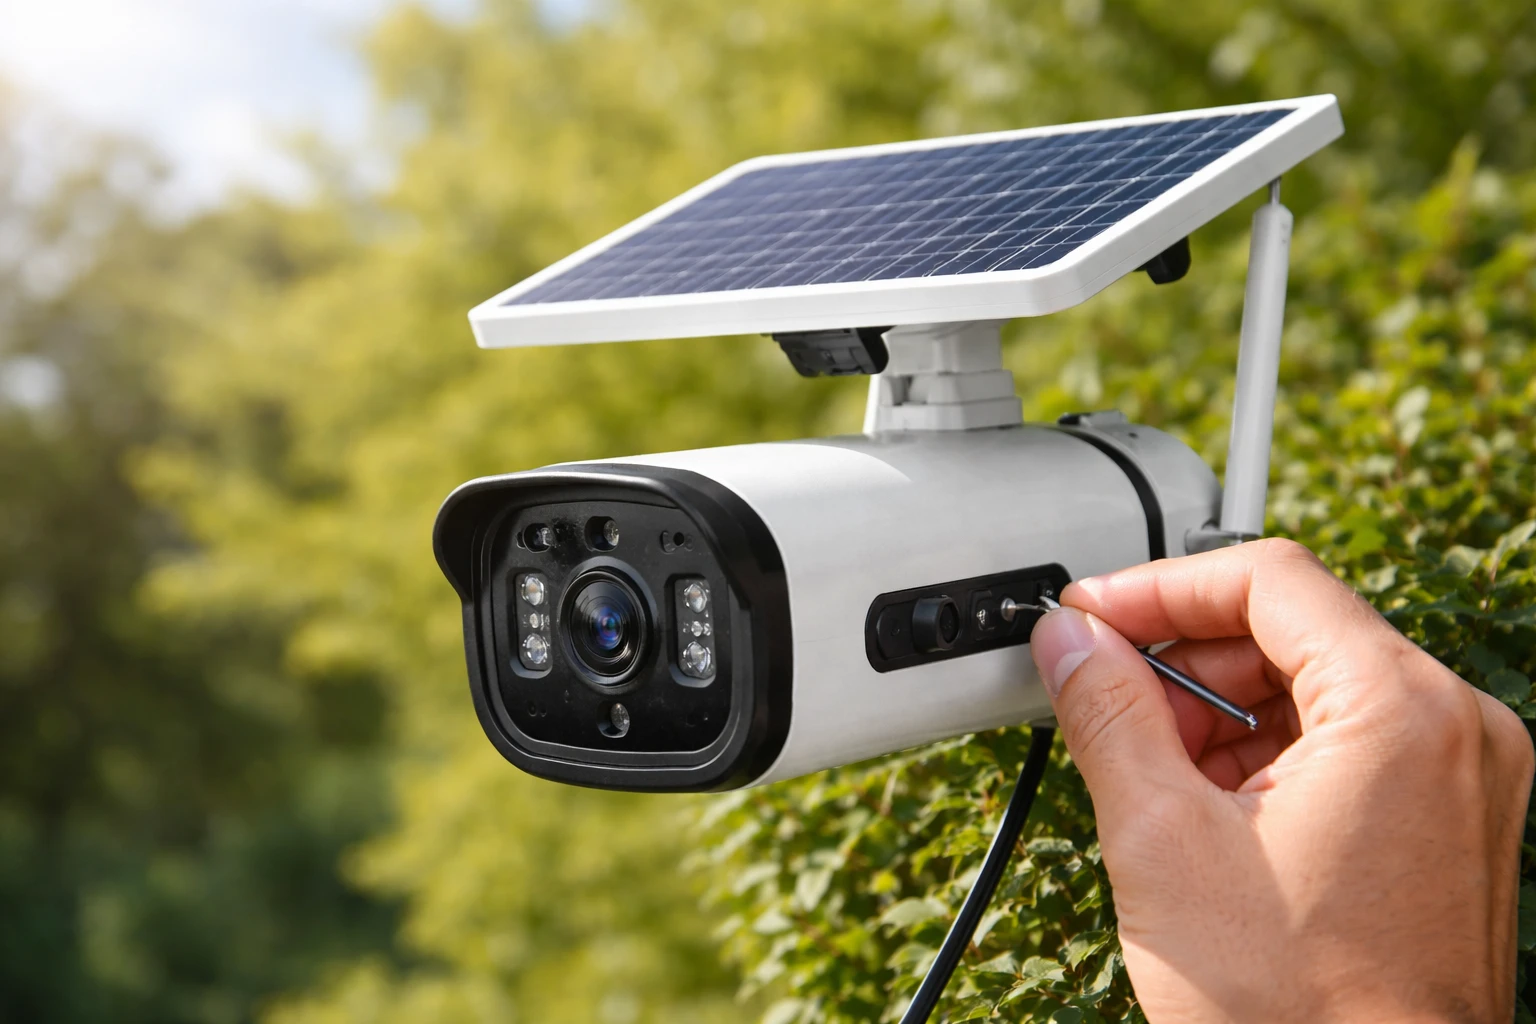
Step 2 – Locate the Reset Button
Most solar cameras include a small reset button. It’s often hidden for protection.
Common locations:
- Behind a rubber seal
- Near the SD card slot
- On the back or underside
Use a pin or paperclip if needed. Be gentle. You don’t want to damage the seal.
Step 3 – Perform a Soft Reset
Start simple.
- Turn the camera off
- Wait 10–30 seconds
- Turn it back on
That’s it. No drama.
Test the connection immediately after. Many issues resolve at this stage.
Step 4 – Perform a Hard Reset (Factory Reset)
If the soft reset didn’t work, it’s time to go deeper.
- Press and hold the reset button (usually 5–15 seconds)
- Watch for LED flashes or listen for voice prompts
- Release the button once reset is confirmed
Your device will reboot and return to factory settings.
This step is the core of how to reset a solar security camera properly when things go wrong.
Step 5 – Reconnect the Camera to Your App
After a hard reset, your camera is essentially new again.
You’ll need to:
- Open the manufacturer’s app
- Connect to WiFi
- Scan QR code (if required)
- Configure settings
Take your time here. Rushing setup often leads to repeated issues.
How to Reset Popular Solar Security Camera Brands
Different brands follow slightly different processes. Here’s a simplified breakdown:
Reolink
- Hold reset button for 10 seconds
- Wait for voice prompt
Ring
- Press and hold setup button for 20 seconds
- Light flashes indicate reset
Arlo
- Remove battery
- Reinsert while holding sync button
Generic Cameras
- Usually follow standard reset button method
- App-based reset options may be available
No matter the brand, the core principle remains the same. That’s why learning how to reset a solar security camera works across devices.
Troubleshooting After Reset
Reset didn’t fix it? Don’t panic.
Work through these checks:
- WiFi strength – Move router closer or use extender
- Battery level – Ensure adequate charge before setup
- Solar panel alignment – Needs direct sunlight
- App updates – Outdated apps cause connection issues
- Firmware updates – Check for pending upgrades
Sometimes the issue isn’t the camera—it’s the environment.
Tips to Avoid Resetting Your Solar Camera Frequently
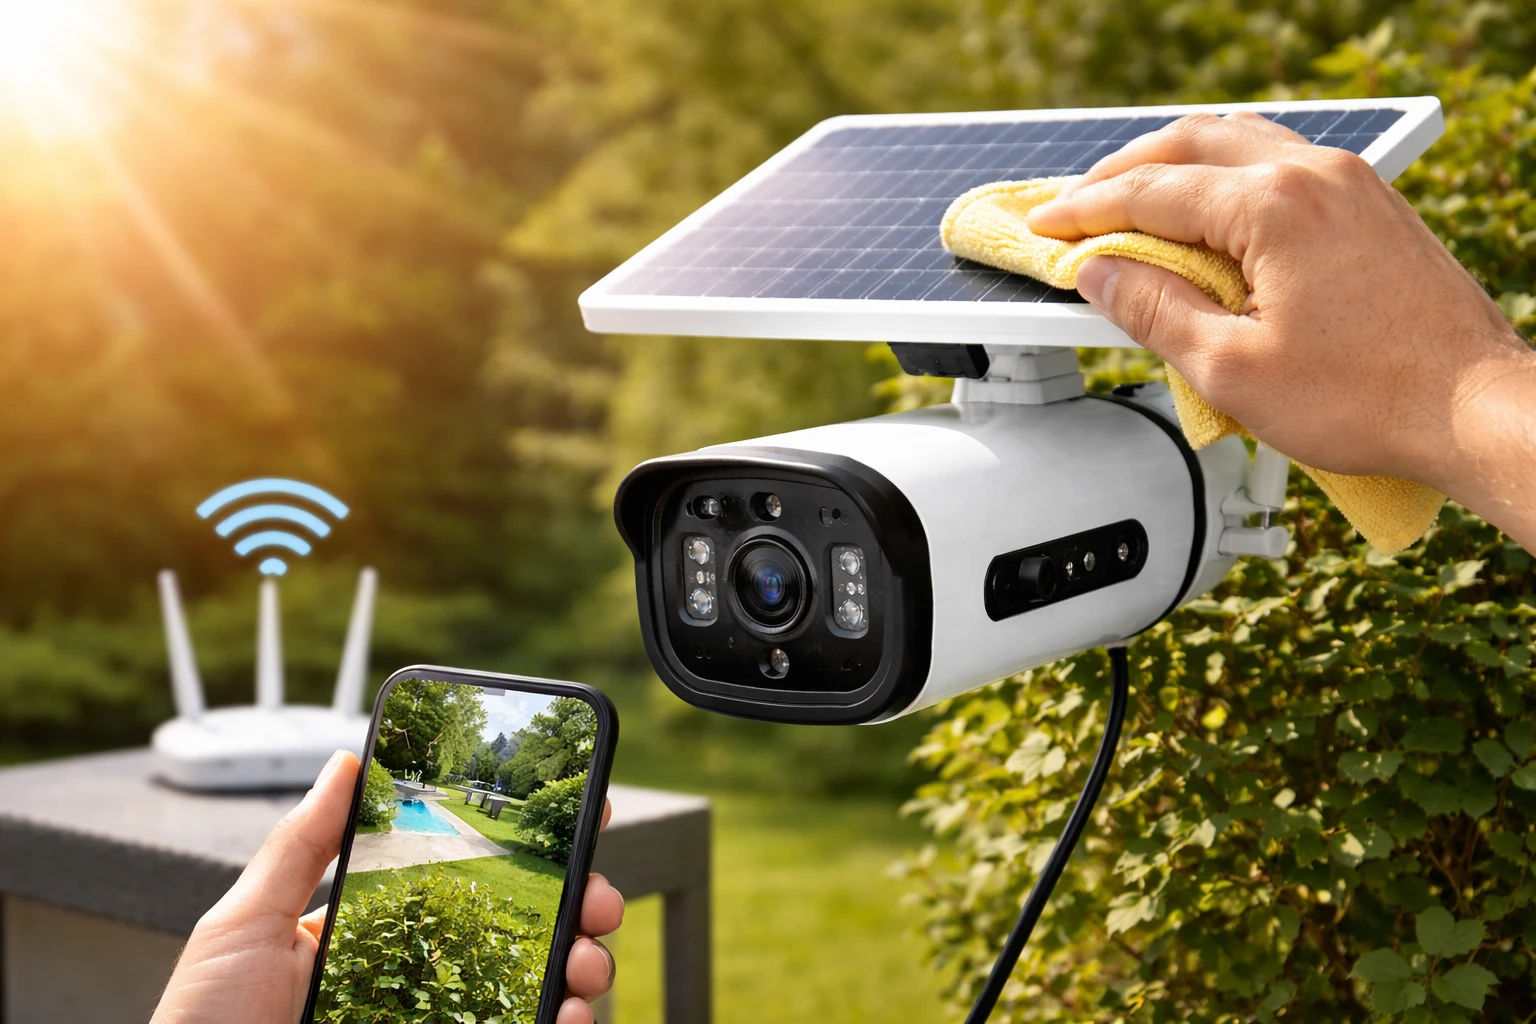
Let’s reduce the need for resets altogether. Prevention is smarter.
Installation Tips
- Place panel in direct sunlight
- Avoid shaded or obstructed areas
Connectivity Tips
- Use a strong, stable WiFi signal
- Avoid switching networks frequently
Maintenance Tips
- Clean the solar panel regularly
- Check battery health every few months
- Update firmware consistently
A little upkeep goes a long way. Trust me.
Safety Precautions When Resetting a Solar Security Camera
Resetting is simple—but it still requires care.
- Don’t reset during firmware updates
- Ensure the battery isn’t critically low
- Protect waterproof seals
- Back up important footage if possible
These small precautions prevent bigger headaches later.
When You Should Replace Instead of Reset
Sometimes, resetting isn’t enough.
Consider replacement if:
- The camera repeatedly disconnects
- The battery no longer holds charge
- Physical damage is visible
- Software support has ended
There’s a point where fixing becomes inefficient. Know when to move on.
Final Thoughts
Learning how to reset a solar security camera isn’t just a technical skill—it’s a practical one. It saves time. It prevents stress. And it keeps your security system running when you need it most.
Start with a soft reset. Escalate only if needed. Follow the steps carefully. And don’t overlook the basics like WiFi strength and battery health.
Once you’ve done it a few times, it becomes second nature. Fast. Easy. Reliable.
And honestly? That’s exactly how it should be.
FAQs
Reset it when it goes offline, freezes, or won’t connect to your app or WiFi network.
Start with a soft reset before attempting a factory reset to avoid losing settings.
It’s often hidden under a rubber cover, near the SD card slot, or on the back of the device.
A hard reset will erase all settings, including motion detection preferences.
Yes, insufficient charging can lead to performance issues that may require a reset.
It can fix temporary issues, but ongoing problems may require network or hardware adjustments.
Not always, but accessing the reset button may require taking it down.
Yes, but each camera must be reset individually unless managed through an app.
The process is similar, but outdoor models often have protected reset buttons.
Reconnect it to your app, set up WiFi, and test all features to ensure proper operation.